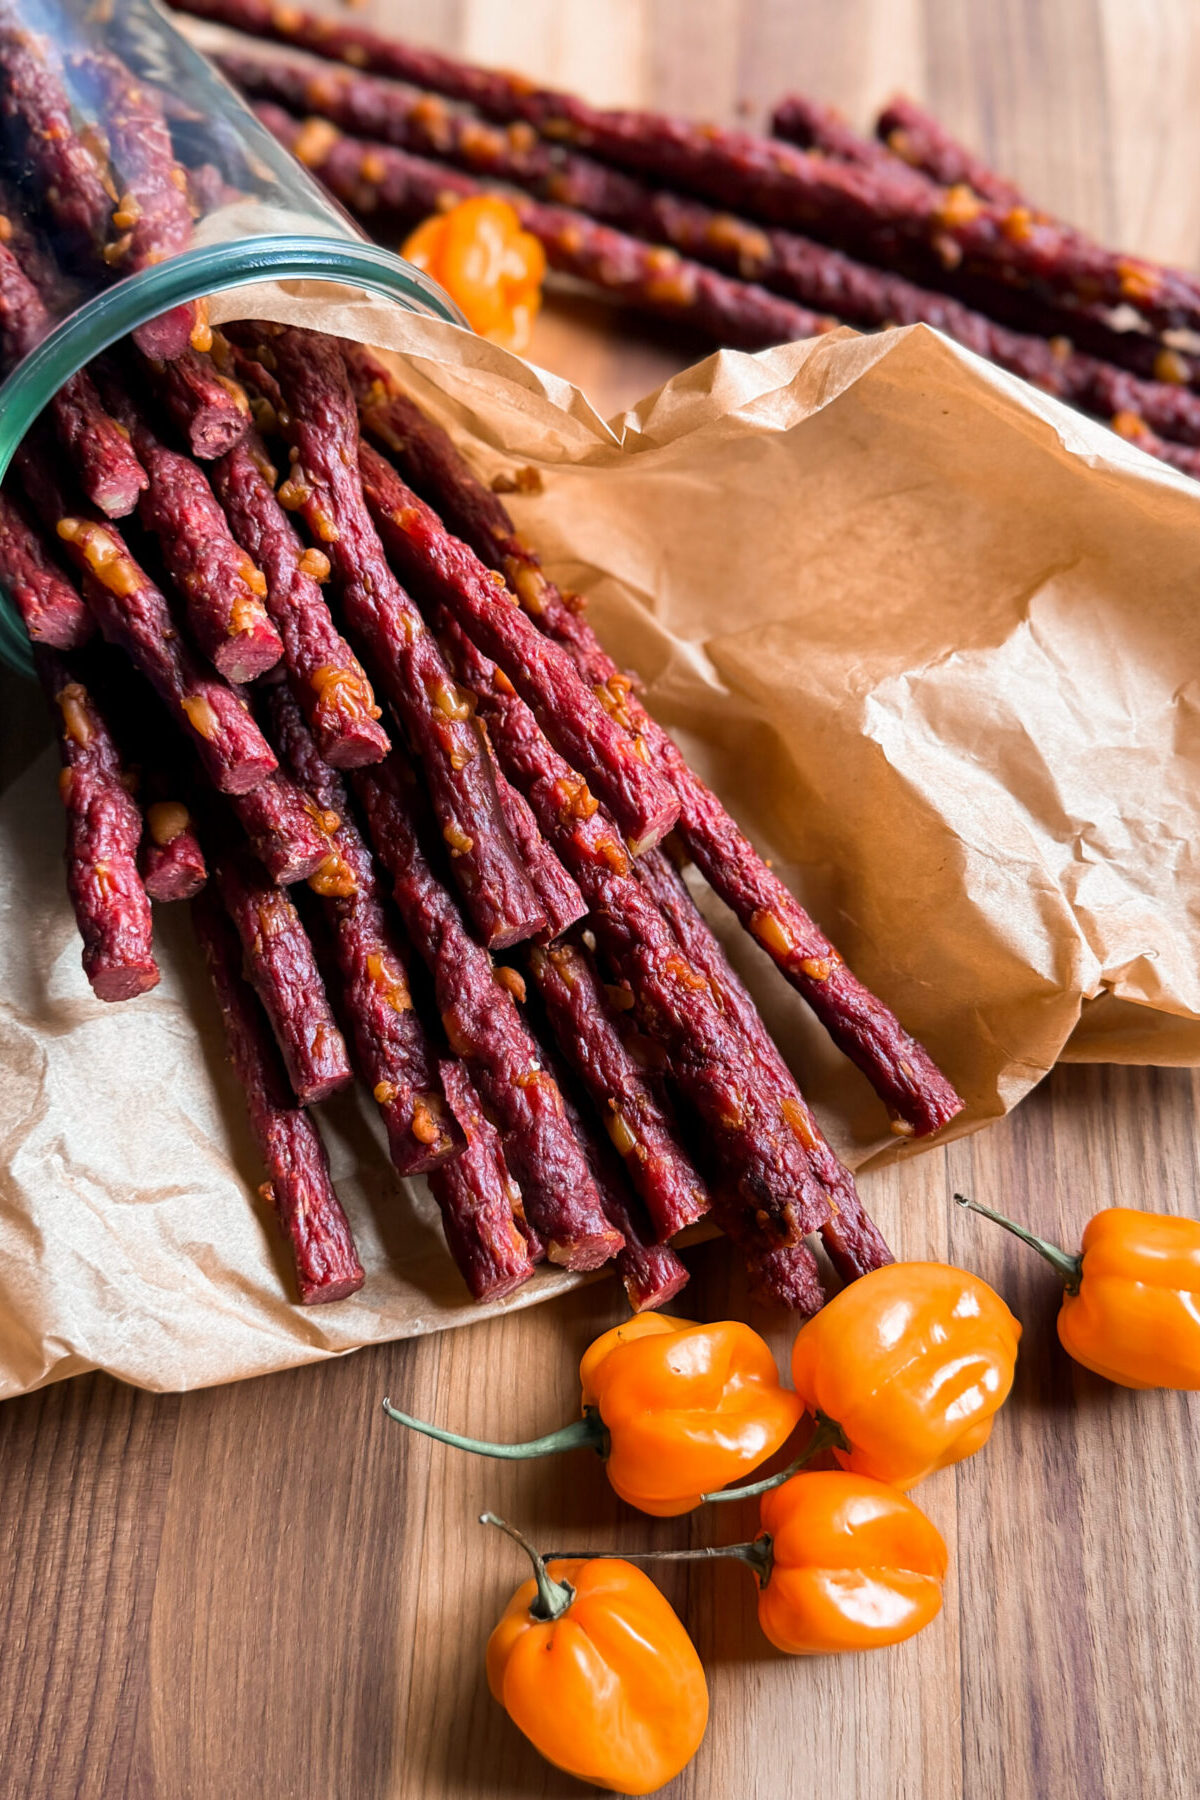
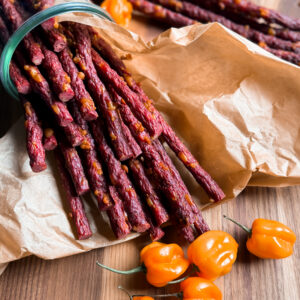
Homemade Beef Jerky Sticks: Habanero Gouda
Apparently millions of people are searching for beef stick recipes lately, and after making these, I completely understand why. These homemade beef jerky sticks are cheaper than store-bought versions, taste even better, and can be customized with whatever flavors you love.
I took the viral ground beef jerky stick recipe and put my own spin on it by adding spicy habaneros and smoky gouda cheese. The result is everything I ever wanted in a snack stick: savory, smoky, cheesy, and just spicy enough to keep you reaching for another one.
A jerky gun (and potentially your husband's help), make these much easier and more approachable than traditional snack sticks.
While a smoker produces the best flavor, I've also included dehydrator and oven instructions so anyone can make them at home.


The Ingredients
- 3 pounds lean ground beef (93/7)
- 3–4 habanero peppers, finely diced
- 8 ounces smoked gouda, cubed
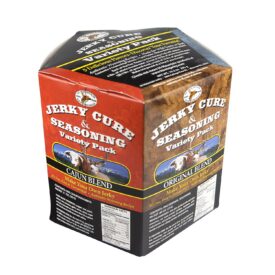
- Beef jerky seasoning and curing salt according to package directions
- Cooking spray or oil spray for the racks
Equipment
- Smoker, dehydrator, or oven
- Jerky gun
- Wire baking racks or dehydrator trays
- Large mixing bowl
advertisement

How to Make Ground Beef Jerky Sticks
1. Mix the Meat
Add the ground beef, diced habaneros, shredded gouda, seasoning, and curing salt to a large bowl.
Mix thoroughly for several minutes until the mixture becomes sticky and tacky. This step is important because it helps develop the protein structure that gives snack sticks their signature texture.
Tip: Don't just stir until combined. Work the mixture with your hands for 3–5 minutes. The stickier it becomes, the better your finished jerky sticks will hold together.
2. Chill Before Extruding
Cover the mixture and refrigerate for 30 minutes to 2 hours.
Tip: Cold meat is much easier to push through a jerky gun and helps the sticks keep their shape. I typically skip this step and it turns out fine though.
3. Load the Jerky Gun
Transfer the meat mixture into your jerky gun and use the snack stick attachment.
Pipe long, even strips onto lightly greased wire racks, leaving a little space between each stick for airflow.
Smoking Instructions (Preferred Method)
- Preheat smoker to 165°F–180°F.
- Place the racks in the smoker.
- Smoke for approximately 3–5 hours, depending on thickness.
- Begin checking after 3 hours.
The jerky sticks are finished when they are firm, slightly bendable, and reach an internal temperature of 160°F.
Dehydrator Instructions
- Preheat dehydrator to 160°F.
- Arrange the racks so air can circulate freely.
- Dehydrate for 4–6 hours.
Start checking around the 4-hour mark. Finished sticks should bend slightly before cracking but should not feel wet in the center.
Oven Instructions
- Preheat oven to its lowest setting, ideally 170°F–180°F.
- Place the racks on sheet pans to catch drips.
- Bake with the oven door cracked slightly to allow moisture to escape.
- Cook for 3–5 hours, checking periodically.
The sticks are done when they reach an internal temperature of 160°F and have the texture of traditional snack sticks.

Tips for the Best Ground Beef Jerky Sticks
- Use lean ground beef. Excess fat can shorten shelf life and create greasy jerky.
- Always use curing salt if you are drying meat at low temperatures.
- Keep the meat mixture cold while working.
- Don't overcrowd the racks—airflow is key.
- If the sticks feel too soft after cooking, simply continue drying for another 30–60 minutes.
- If the ends burn a little, just cut the ends off.

Storage
Allow the jerky sticks to cool completely before storing.
- Refrigerator: Up to 2 weeks
- Freezer: Up to 3 months
- Vacuum sealed: Even longer shelf life
These make a great high-protein snack, road trip food, lunchbox/charcuterie board addition, or post-workout bite.

advertisement
Beef Jerky Sticks: Habanero Gouda
Equipment
- Smoker preferred method
- Large Mixing Bowl
- Wire baking or dehydrator trays
Ingredients
- 3 pounds ground beef (93/7)
- 3-4 habanero peppers finely chopped
- 8 ounces gouda finely chopped
- 3 tablespoons curing salt see link to the kind I used
- 1/2 cup barbecue seasonings or blend see link to the kind I used
Instructions
Mix the Meat
- Add the ground beef, diced habaneros, shredded gouda, seasoning, and curing salt to a large bowl.
- Mix thoroughly for several minutes with your hands (use gloves).
Chill Before Extruding (optional - I often skip this step)
- Cover the mixture and refrigerate for 30 minutes to 2 hours.
Load the Jerky Gun
- Transfer the meat mixture into your jerky gun and use the snack stick attachment.
- Pipe long, even strips onto lightly greased wire racks, leaving a little space between each stick for airflow.
Smoking Instructions (Preferred Method)
- Preheat smoker to 165°F–180°F.
- Place the racks in the smoker.
- Smoke for approximately 3–5 hours, depending on thickness.
- Begin checking after 3 hours.
- The jerky sticks are finished when they are firm, slightly bendable, and reach an internal temperature of 160°F.
Dehydrator Instructions
- Preheat dehydrator to 160°F.
- Arrange the racks so air can circulate freely.
- Dehydrate for 4–6 hours.
- Start checking around the 4-hour mark. Finished sticks should bend slightly before cracking but should not feel wet in the center.
Oven Instructions
- Preheat oven to its lowest setting, ideally 170°F–180°F.
- Place the racks on sheet pans to catch drips.
- Bake with the oven door cracked slightly to allow moisture to escape.
- Cook for 3–5 hours, checking periodically.
- The sticks are done when they reach an internal temperature of 160°F and have the texture of traditional snack sticks.
Notes
- Refrigerator: Up to 2 weeks
- Freezer: Up to 3 months
- Vacuum sealed: Even longer shelf life
welcome!

Hi, I'm Margot Searls and my hope is to turn around recipes from my table to yours. The food you put on your table can truly turn your lifestyle around for the better—hence Turned Around Table.